Amazon Shipping Settings Automation (SSA): A Complete Seller’s Guide
What is Shipping Settings Automation?
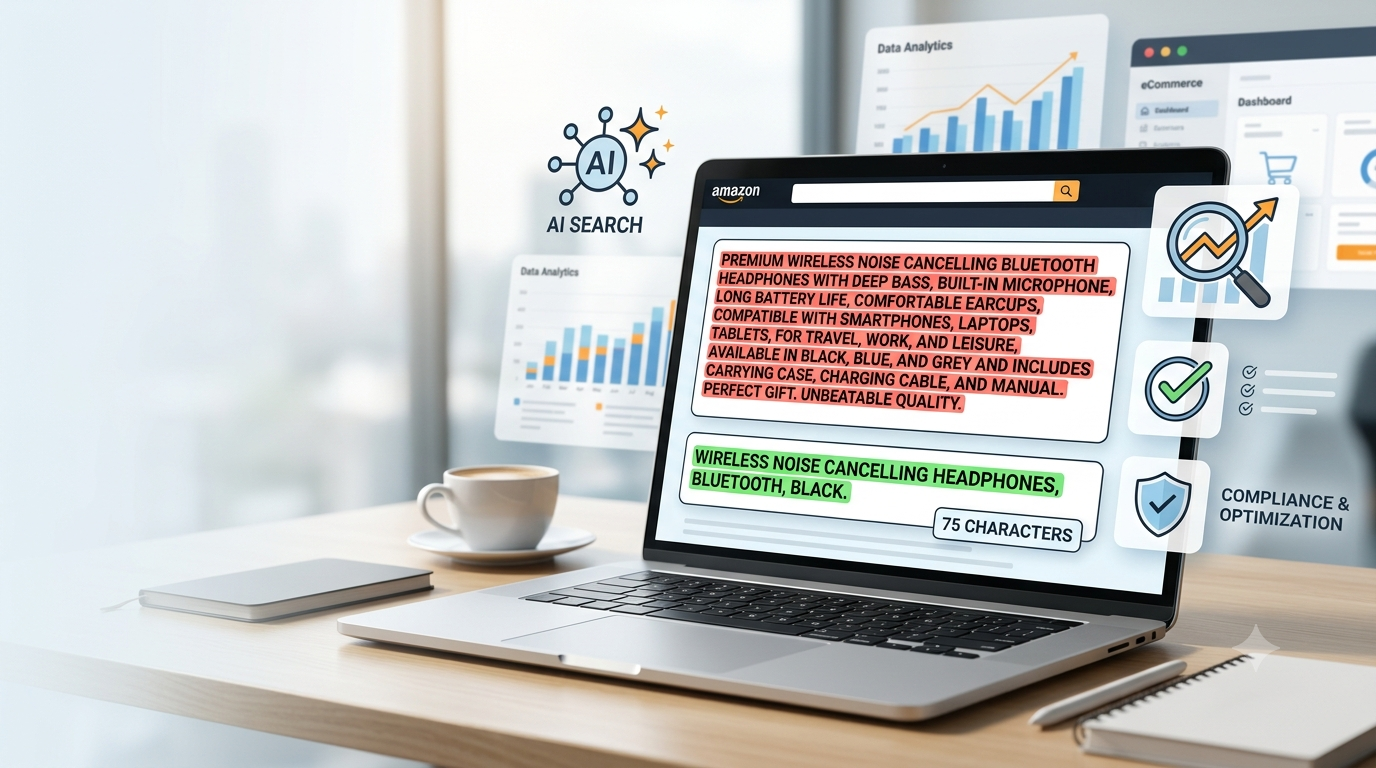
SSA is a feature or setting that can be enabled in Amazon and is designed to help sellers quickly create shipping templates with accurate delivery regions and transit times to each region. Amazon will automatically calculate these transit times for you and automatically refresh to reflect the latest delivery speed of shipping services. This eliminates the need to manually maintain your shipping templates with accurate information.
Shipping Settings Automation Will Support The Following:
- Transit time automation for domestic Self-Fulfilled Standard Shipping
- Shipping Region Automation for Domestic Self-Fulfilled 1 & 2 Day Delivery
- Shipping Region Automation for Domestic Seller Fulfilled Prime 1 & 2 Day Delivery (it’s particularly important to use the settings here because to remain in the Seller Fulfilled Prime Program, you need to hit the required delivery speed targets)
Benefits of SSA:
It takes a significant amount of time for sellers to do the complex calculations and track the delivery performance that is required to provide accurate delivery promises to customers. By using Shipping Settings Automation, you simply tell Amazon where you ship from and what shipping service you use, then Amazon will do the calculations for you based on the most recent data. Amazon is trying to eliminate unnecessary long delivery promises, as customers like products that ship quickly. These calculations are particularly important when shipping Seller Fulfilled Prime, as mentioned above, because Seller Fulfilled Prime has very strict requirements for shipping speeds. So, you can use these settings to your advantage to save time and ship accurately. Seller Fulfilled Prime members can use these settings to their advantage to show an accurate delivery promise to customers and hit delivery speed targets.
*More accurate and faster delivery promises to customers give your product a better chance to win the Buy Box
*You no longer need to manually estimate transit times and hopefully eliminate the need to “overestimate” your delivery promises (i.e. a delivery promise to a customer is longer than the product actually takes to get there)
*These settings are really designed to be a transit time management tool, and your delivery promise to customers will likely be more accurate with these settings than with manual estimates.
Is there anything required of me to use Shipping Settings Automation?
You must use the shipping services that you select in your settings for this to work. Make sure you select the correct shipping service from the start. Or, you can use “Buy Shipping” to select any shipping service that meets customer promises. Amazon will monitor your delivery performance, and Amazon may add time to your delivery promise the customer sees if you are not meeting the requirements.
Exactly how does Amazon Automate Shipping Regions?
Shipping regions (Prime & non-Prime) are auto-calculated based on where a shipment can reach within 1 and 2 days, based on your shipping settings preferences. These preferences include your: ship-from location, shipping service, and delivery zone limits (for Prime). Keep in mind that Amazon is always trying to have the largest amount of coverage possible of on-time delivery, so Amazon may adjust your shipping regions over time to do this.
Steps to Enable SSA:
For Self-Fulfilled Products:
Go to your Shipping Settings, and under “shipping templates” either create a new template or upgrade an existing template. You may now enable Shipping Settings Automation and enter your ship-from location. Select “I want to automate my Self-fulfilled (non-Prime) shipping settings”.
To enable transit time automation for Standard Shipping, perform the following steps on the Standard Shipping Automation Preferences page:
- Select the carriers and shipping services you use in the Carrier Preferences section.
- Manage your Standard Shipping Regions by clicking Edit in the Region Preferences section.
To enable shipping region automation for Non-Prime One-Day Delivery and Two-Day Delivery, select the carriers and shipping services you use in the Carrier Preferences section on the Premium Shipping Automation Preferences page.
Review your Shipping Settings Automation preferences and click Confirm.
Review and edit shipping fees for your shipping regions.
Assign your Self-fulfilled SKUs to the shipping template.
For Seller-Fulfilled Prime Products:
Go to your Shipping Settings, and under “shipping templates” either create a new template or upgrade an existing template. You may now enable Shipping Settings Automation and enter your ship-from location. Select “I want to automate my Seller Fulfilled Prime shipping settings”.
Select the carrier and shipping services for Prime Two-Day and One-Day Delivery, based on the shipping services coverage. (One-Day Delivery is optional.)
Select “Delivery Zone Limit” if applicable.
Review Prime Shipping Settings Automation coverage and click Confirm.
Review and edit shipping fees for non-Prime customers.
Assign your Prime SKUs to the Prime shipping template.
Important Tips*
*Be very careful when choosing your “handling time” and make sure it’s accurate. Inputting too short of a handling time may show a faster delivery date to customers, but you might not be able to hit those deliveries, and your Delivery Speed Metrics would be affected. Stay on the safe side and input a “handling time” you are confident you can achieve.
*In your settings, you can select up to 10 “ship-from locations”. Your shipping regions will show a sum of ALL the regions your shipping services can deliver to from each “ship-from location”.
*Be sure to select the appropriate shipping service (like UPS) for EACH way you ship. I.e. You may be using UPS for your Seller-Fulfilled Prime orders, while your Self-Fulfilled Premium Shipping Orders are FedEx.
*If you are simply using Self-Fulfilled Standard Shipping, Amazon will automatically choose the shipping service (like UPS) with the LONGEST transit time to avoid increasing your shipping costs. I.e. 3-5 days would be chosen over 2-4.
*Don’t forget about your Delivery Zone Limits. You can control your shipping costs by limiting the regions, or you can use Amazon’s default value.
*You may see that your Prime coverage is smaller than usual when you enable Shipping Settings Automation. This may be because Amazon will only label a region as Prime when they can ship on time to every single zip code in that region. Regions have the potential to be upgraded over time when shipping improves, and Amazon would create a new version of your shipping template should a change happen. Coverage is calculated by the percentage of the US population that is within the Prime or non-Prime Premium Shipping regions covered by your chosen shipping services.
Feedback on Shipping Settings Automation: “What Sellers Are Saying”
With any new changes to Amazon, it’s a good idea to be on the lookout for potential difficulties.
Let’s take a look at a few issues sellers have noted with Shipping Settings Automation and things to watch out for:
- Not all carriers showing up as a shipping option
- PDMG (Amazon agency)Insight: This might be because Amazon is only showing carriers that can ship at a certain speed; however, this may be an issue for sellers who need a specific carrier (varying reasons as to why this may be necessary)
- Limits to the shipping day options (i.e., same-day delivery shows as an option, but next-day delivery does not).
- PDMG INSIGHT: An issue with this is customers could end up being shown a 1–2-day delivery, but sellers cannot select that option when shipping. This could throw off your delivery speed metrics.
- Some sellers have noted trouble selecting Buy Shipping in their settings (which allows you to choose any service that meets customer promises).
- PDMG INSIGHT: Check that you purchased the shipping label on time and before the pick-up time. Check that you selected a shipping location that is already defined in your settings. If you are still having trouble, you can just buy your shipping label without “Buy Shipping” and just make sure you select a carrier that will deliver on time. Any customer orders in this case should not count towards your Buy Shipping Metrics, but you should contact Amazon if the orders show up in your report.
- Shipping templates did not include options for Alaska and Hawaii, but sellers weren’t able to “Add a new rule” to add those states.
- Some sellers have felt the delivery promises estimated by Amazon have not been accurate. Moreover, delivery dates, according to Amazon, should be automatically updated based on carrier performance, but some sellers don’t feel this is the case.
- Some sellers feel like they are giving Amazon too much control by enabling Shipping Settings Automation and prefer to manage it themselves.
Seller Fulfilled Prime as it relates to Shipping Settings Automation:
We know that the requirements of Seller Fulfilled Prime can be difficult for many sellers to maintain. If you are having trouble hitting your delivery speed targets, these settings may be good to try and see if things improve. If you have strong success with Seller Fulfilled Prime, you may want to stick with what works and not* turn on Shipping Settings Automation. It’s really up to you and what works for your business. If you decide to test out Shipping Settings Automation, keep a close eye on how the settings correlate to your shipping performance. Did your shipping performance improve or decline? From there, you can do an evaluation and decide if it makes sense to continue with Shipping Settings Automation.
Want to learn more about Shipping Settings Automation? Check out our Video Resource Library.