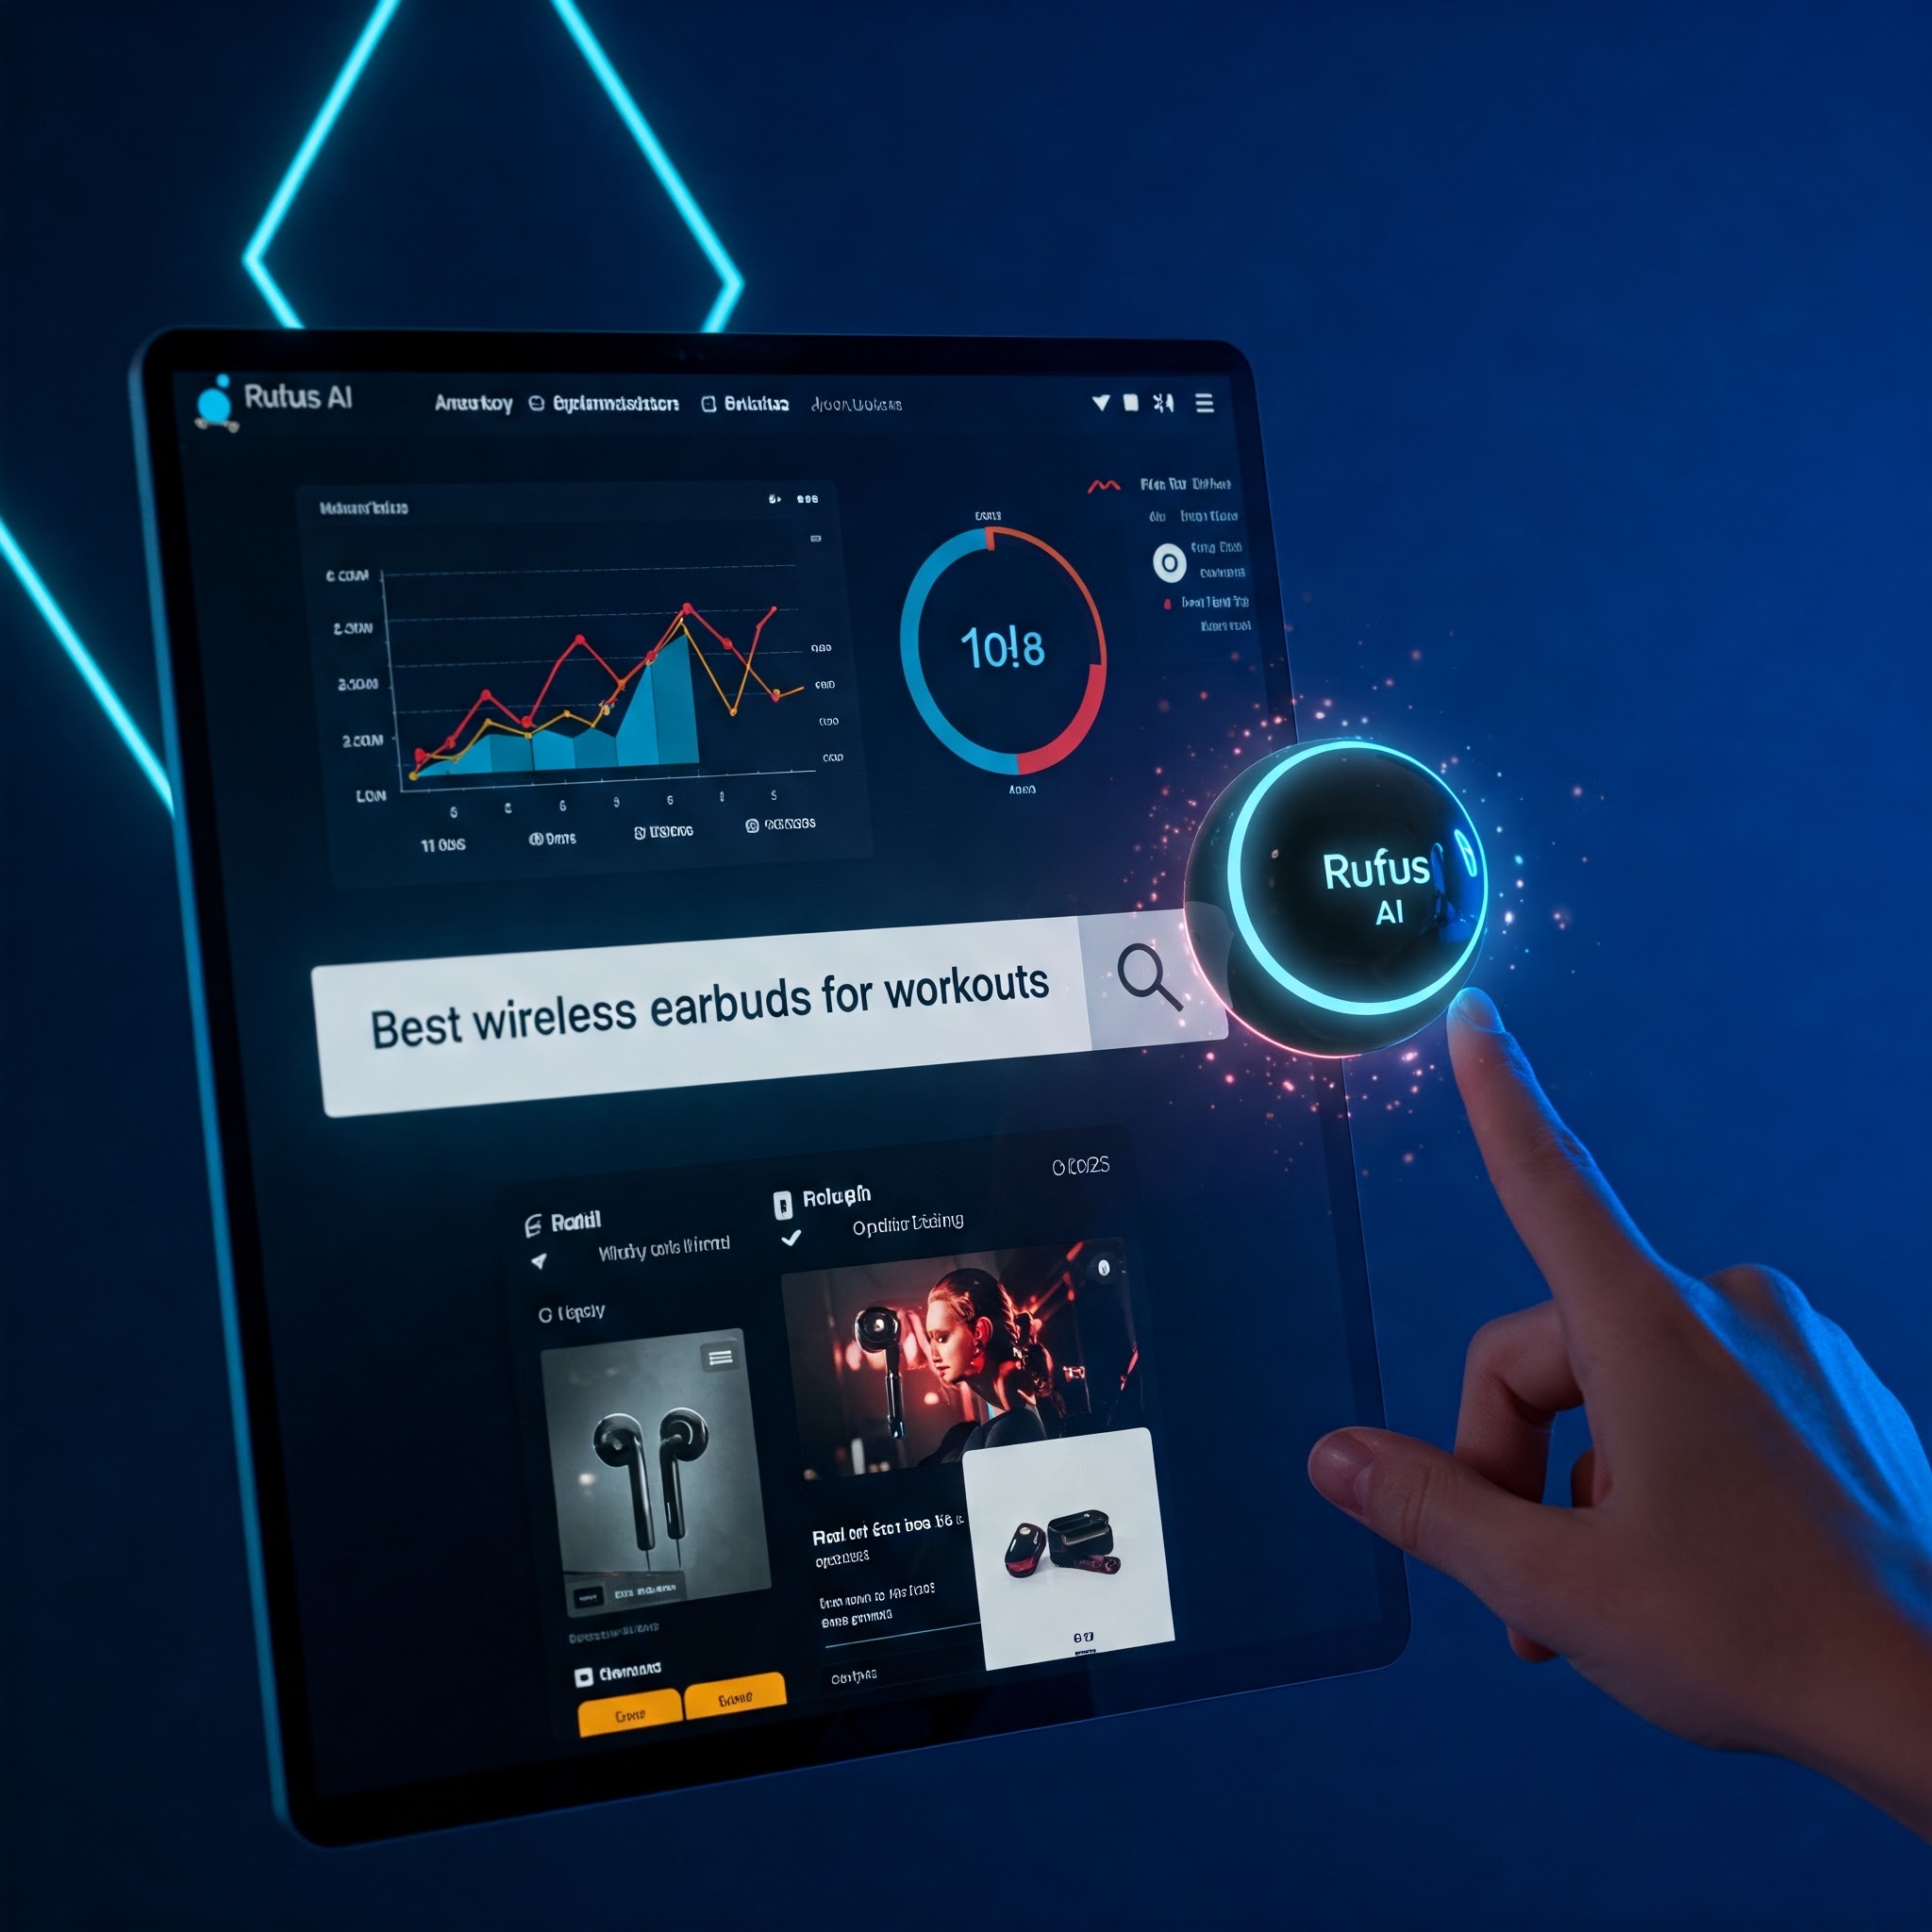
Want to start selling on Amazon but not sure where to start? We’ve come up with a checklist of everything you need to start successfully selling on Amazon. Be sure to reference our included links to our more in-depth blogs and videos on certain topics.
Want to learn more about this topic? Check out our video resource library.
Getting Started:
1. Choose your selling plan to create a selling account on Amazon (Account Sign Up)
-
- Professional Plan-$39.99/month- gives you access to all the selling tools
- Individual Plan- 99 Cents/sale- Only suitable if you sell less than 40 items a month
2. Complete your registration and create a selling account
-
- You’ll need your bank account number, bank routing number, chargeable credit card, government-issued national id, tax information, and phone number to complete the sign-up
3. Understand the cost of selling on Amazon
-
- There will always be a referral fee per unit sold for every sale on Amazon, and the referral fee is based on the category you are selling in. FBA incurs an additional fee based on the size and weight of the product.
List Your Products
4. Use the Add a Product tool and choose the category for your product (shoes, shampoo, etc.)
-
- Think carefully and choose the most granular category possible. It is difficult to change product categories down the road, so you need to think carefully about what category makes the most sense for your product.
5. Create your first listing with the following information:
-
- GTIN (UPC, ISBN, or EAN)- this is your product ID
- SKU
- Product Title- what are you selling?
- Brand Name and Manufacturer
- Price
- Condition of item (New, Used, etc)
- Product Description and bullets- some details about your product
- A high-resolution image of the product on a white background
- You’ll need to fill out any section that is red in order to list your product- required fields can change based on the category
Optimize Your Listings
6. Fill out all seven side image slots allotted to your listing with high-quality, descriptive images.
7. Build Out the A Plus Content section (must be Brand Registered).
8. Make sure your bullet points, titles, and product descriptions are filled with all the necessary keywords to ensure your products rank in the search results. These 3 sections should also be descriptive and easy to understand.
9. Fill out the search terms on the backend of your listing with important keywords.
10. Use the Listing Optimizer Tool to fill in any attribute that the system deems important for your product (I.e. Fabric Type, Unit Count, Style, etc.)
Grow Your Account
11. Start Running Advertisements on your products and adjust those ads as you learn what converts and what doesn’t. Make sure you utilize sponsored products, sponsored brands and sponsored display campaign types.
12. Run coupons and promotions to drive sales. They help increase conversion rates.
13. Apply for Brand Registry with Amazon.
-
- Brand Registry protects your brand & trademark and gives you access to numerous tools to continue to grow your account.
- Fill out the application at amazon.brandregistry.com.
- PDMG TIP: Supplemental trademarks will not work.
14. Add videos to your listings. (Must be Brand Registered)
15. Build your brand store (Must Be Brand Registered)
-
- Your brand store is a page for customers to shop for your products. Think of it as a digital storefront for your products. You can design the page with images, brand colors and arrange your products in a way that is enticing to customers.
16. Understand how the Buy Box works and what it means to “Win the Buy Box”.
17. Organically grow your reviews.
-
- Sellers can make use of the vine program and request reviews on completed orders to grow positive reviews.
- PDMG TIP: Don’t manipulate the platform, as Amazon will find out.
18. Parent your listings.
-
- Any product that has a variation (I.e. one shirt that comes in multiple sizes and colors) needs to be parented. This allows customers to see all the variations of your product on one detail page.
GO FBA
19. Look at your array of products and sales data to choose the top performers for some FBA testing.
20. Build your first FBA shipment in Seller Central.
21. Continue to run a dual shipping program with FBM as a backup in case any issues arise with FBA.
22. As you add more products to FBA, it’s crucial to keep a close eye on inventory levels and restock your inventory where needed.
23. Continue to fulfill orders and manage returns in a timely manner.
Tips For Success
24. Place emphasis on Customer Service.
-
- You, as a seller, need to manage returns and customer questions in a timely manner (buyer messages should be answered within 24 hours).
25. Make use of Seller Support.
-
-
- Email and call seller support with issues. Whether it’s a problem with a shipment, an image, etc., it’s important to stay on top of seller support to get your issues resolved.
-
26. Check in and review your account daily. This is crucial. There are many issues that can arise with Amazon, so the key is to be constantly looking at your account and know what issues to look for.
Examples of things to watch out for:
-
- Track your shipments all the way through receiving
- Make sure your listings are active and no products are “suppressed”
- Watch out for stranded inventory on your FBA listings and take action when needed
- Check for A-Z claims or negative feedback
- Check your performance notifications
27. Use a feed file when making updates to your listings.
28. Keep Track of your data. Download reports from Seller Central so that you can make informed decisions about your account.